We’ve all been there. It’s 20 minutes in. You just wiped three of their heroes in a skirmish near the mid lane. The adrenaline is pumping. Your team pings the enemy Tier 2 tower. It feels right. It feels like the logical, objective-based Dota we were taught to play.
And according to BSJ, it’s the single most common pattern he sees across thousands of replays—from Crusader all the way to Immortal—that costs players the game.
Here’s the hard truth from his latest Dota 2 Mythbusters breakdown: Taking that Tier 2 tower right now is probably a mistake.
The Psychology of the “Bad Siege”
BSJ explains that our brains are wired to think linearly: Kill heroes → Take tower → Get closer to Ancient = Win game.
This logic holds up perfectly for Tier 1 towers. Taking the enemy safelane T1 opens up the Twin Gate, Tormentor access, and two massive jungle camps. Taking the mid T1 secures Power Rune control and Roshan access. These towers are keystone objectives.
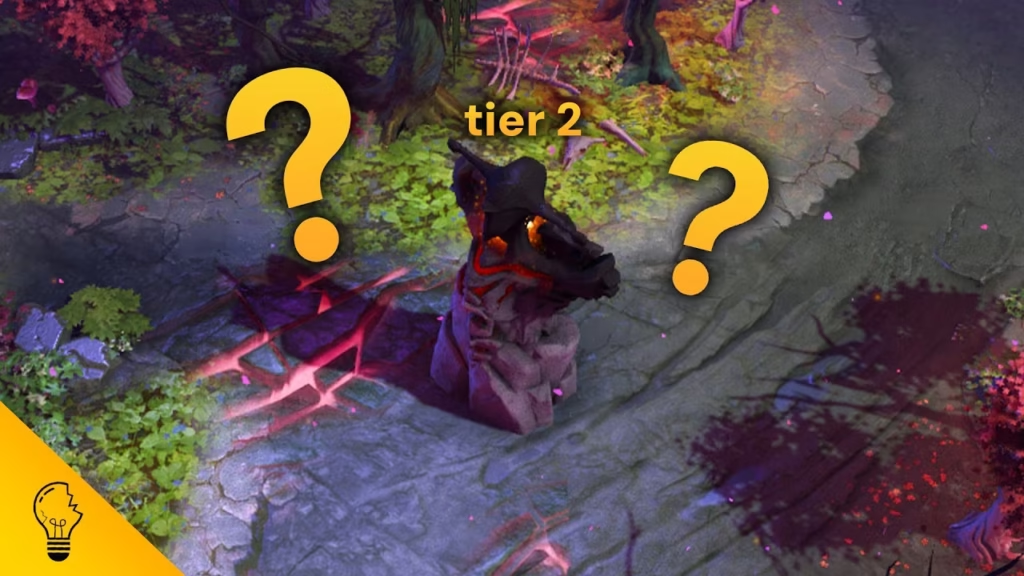
But Tier 2 towers? They are, in BSJ’s analysis, “empty calories.”
Look at the map geometry. A Tier 2 mid tower doesn’t protect your triangle. A Tier 2 side lane tower doesn’t unlock a new objective or give you safer access to a Wisdom Shrine. The only thing it does is make the enemy team respawn, regroup, and wait for you to overstay your welcome while you chip away at it with insufficient damage.
The Hidden Cost: The Creep Wave Famine
In the transcript, BSJ highlights two critical replay moments—a 2.6k MMR Terrorblade and a 5.2k MMR Puck—that illustrate the real error.
After winning a fight, the immediate instinct is to hit the structure in front of you. But while four heroes are standing at the enemy T2 watching a support try to right-click for 40 damage, the actual game-winning objective is rotting in the side lanes.
“The most important objective on the entire map… is creep waves.” – BSJ
Here’s the scenario BSJ outlines as the correct play:
- You win the fight mid.
- You glance at the side lanes.
- Instead of hitting the T2, you TP bottom and shove that wave hard into the enemy’s face.
- Then you walk through their newly-emptied jungle, take their camps, and meet your team on the other side of the map.
The Result? You haven’t just taken a tower that gives them a safe high-ground position. You have suffocated their economy. You now control 2/3rds of the map. When they respawn, they have nowhere safe to farm except under their T3s. You accelerate your net worth while simultaneously halting theirs.
The “Damned if You Do” Dilemma
One of the most relatable parts of BSJ’s analysis is the social pressure of the pub game. He describes the feeling of knowing the T2 siege is bad, but thinking: “If I leave, my team will feed 4v5 and ping me.”
His advice is tactical and clear:
- Don’t TP away immediately. Walk toward a side lane camp. Farm nearby. Be close enough to help if a fight breaks out, but don’t commit your hero to hitting a tower you can’t take quickly.
- Be the wave clearer. If you are a mobile core (Puck, Ember, QoP), it is your job to break the stalemate by fixing the side lanes.
In the Immortal game example he shows, his team spent two minutes stagnating at a T2 while the enemy Phantom Lancer farmed two lanes for free. Their lead shrunk from 5k to 3k purely because of map distribution inefficiency.
The Takeaway
Tier 1 towers matter. They change the map. Tier 2 towers are just lane markers. They don’t unlock anything. They don’t give you new vision or new farm. They just move you closer to the enemy’s strongest defensive position while giving them time to respawn.
So when you win a fight and everyone starts pinging the T2, check the side lanes. If there’s a wave that needs shoving, go do that instead. You’ll get more gold, more map pressure, and you’ll probably take that same tower two minutes later without anyone on your team dying for it.